- Introduction
- Dashboard
- Bash
- Python interpreter
- Python files
- Interpreter Vs File Editor
- Plenary
- Homework
PythonAnywhere
Normally when you use Python you use in locally on your computer, but we are going to cheat are going to use a website called pythonanywhere.com
We are going to use this because:
- It’s free!
- It’s easy!
- It’s web-based so you can code from home, school or even on the beach 🙂
Click on the link below to sign up for a beginner account.
Pythonanywhere Beginner Account Link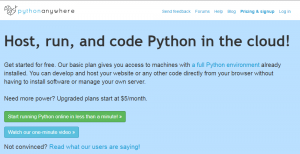
Dashboard
The first place you will want to go is to the dashboard!
From here you can:
- Browse your virtual machine using the Linux Shell Console
- Create new Python files
- Test your python scripts
- Kill existing consoles
Activity 1
- Click on ‘Dashboard’.
- Click on the tab ‘Files’.
- Create a new firectory titled ‘george’.
- Create a new file called ‘fred.txt’
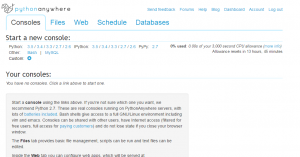
This is the dashboard. It’s pretty ugly.
Click on Dashboard .
Linux Bash Shell
When you create folders and files, you are creating them on the PythonAnywhere servers and the operating system that the run is Linux. This means that you can access the Linux shell and run all sorts of commands on the server!
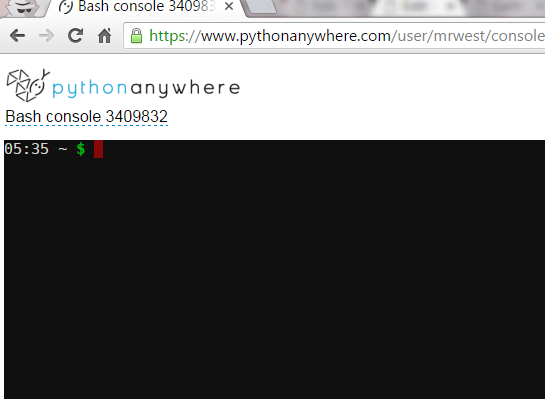
To do this you need to open a Bash shell by going to:
- Click Consoles
- Click ‘Bash’
Here are some common commands:
- ls list the contents of a directory
- cd george go to the george directory
- cd .. move back up to the parent directory (notice the space between cd and ..)
- rm fred.txt delete the fred.txt file you created
- rmdir george remove the george directory
- mkdir challenges create a new directory called challenges
Activity 2
Using the commands above:
- change directory to the george directory
- delete the fred.txt file
- come back out to the parent directory
- remove the george directory
- create a new directory called ‘challenges’

On the consoles tab, click ‘Bash’ to create a bash shell’
Python Interactive Interpreter
Now we have things nicely set up we are going to have a go at our first bit of Python programming! In order to do this we going to need to load up a bash console (like before) and open up Python.
Now do the following:
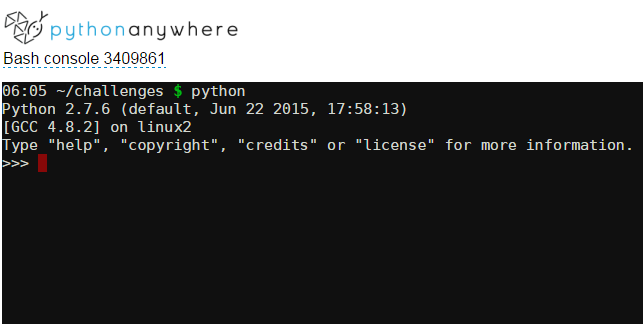
- Open up a bash console
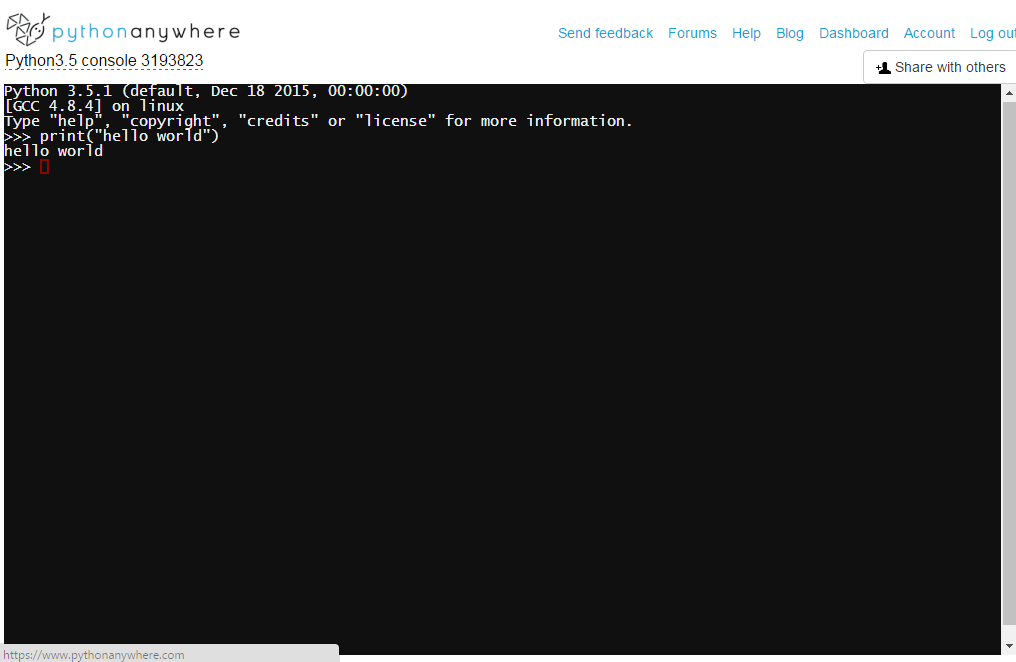
- Once inside the bash console type ‘python’ and press enter.
- type print(“hello world”) and press enter. It should print ‘hello world’!
- to exit python, type exit() and press enter
Activity 3
When we are programming we are going to be using Python 3, because it has more features and more future-proof than Python 2. You can load python 2 instead by typing ‘python2’ . Try loading each version of Python.

Creating and running Python files
Just typing in commands in to the Python Interpreter, but what if we want to save our programs so that we don’t have to retype them every time? In order to do this we need to create a py file!
Activity 4
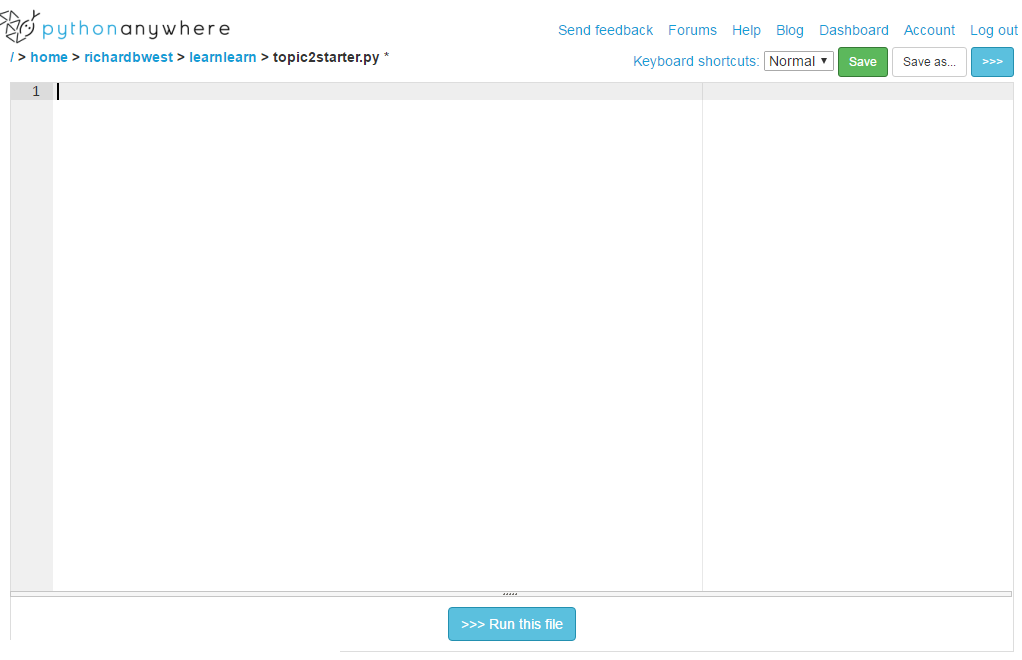
- Go to Dashboard > Files
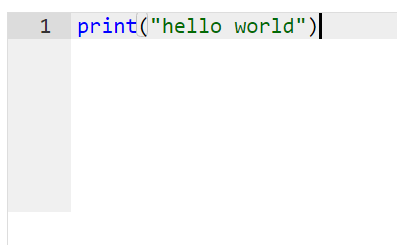
- Create a new file called ‘helloworld.py’.
- Inside this file type in print(“hello world”)
- Click on the blue ‘Run this file’ link
- Once it loads up, it should print out ‘hello world’ to the screen.
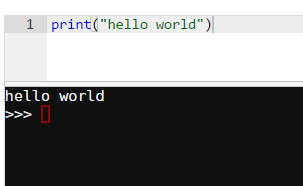
You first proper Python program. The code is at the top(white) and the output is down the bottom( black).
Notice that you print and hello world are different colours? This is known as syntax highlighting and it makes your code easier to read.
Interactive Interpreter
Uses
The interactive interpreter is useful for:
- Testing out small sections of code
- Developing snippets of code to be added to a larger script
- Learning new modules, packages and coding techniques
File Editor
Uses
The file editor screen is useful for:
- Writing, Debugging and saving full programs
- Writing reusable helper functions that can be used in other programs.
Advantages of interactive interpreter
- Errors are immediately highlighted
- Can access in-built help functions – try typing help(str)!
- Quick to try out small pieces of code
Advantages of file editor
- Scripts can easily be run and saved.
- Syntax highlighting(multi-colour text) makes code easier to read and debug.
- Your program can be tested as a whole
- Easy to edit if mistakes are made
Disadvantages of interactive interpreter
- If you make a mistake you have to type in a whole line again ( or just press up and edit it)
- Code isn’t saved
- You can’t easily write lots of code
Disadvantages of file editor
- Takes longer to see if there is an error
- Can’t use the in-built help
- Can’t inspect objects to see what they are / how they work.
Plenary
- Log into your Google Drive Account
- Click on link to open up the Google slides document on the right
- Go to File > Make a copy
- Once you have made a copy fill in the slides on the sheet using information for today’s page!